At the moment, Telegram triggers, when used as application triggers, do not operate instantly, which is often critical—especially for chatbots, where response speed is of utmost importance.
That’s why I’m sharing a guide on setting up Telegram triggers via WebHook, completely eliminating any delay issues.
WebHook Setup Process
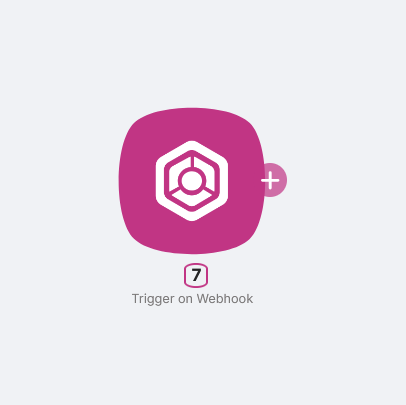
First, add a Trigger on Webhook node to your scenario.
This node offers two WebHook versions:
- Dev (for development and testing)
- Prod (for autonomous operation)
Copy the Prod WebHook URL for further setup.
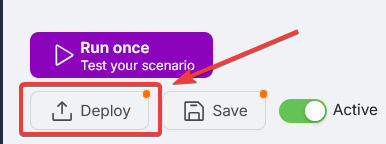
After this, the scenario must be deployed for the PROD WebHook to become active.
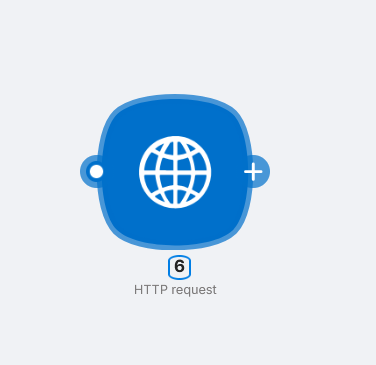
Next, add an HTTP Request node.
To configure the WebHook, send a GET request to the following URL:
https://api.telegram.org/bot{my_bot_token}/setWebhook?url={url_to_send_updates_to}
Simply paste this URL into the URL field and replace the variables:

Where:
{my_bot_token}— your bot token from BotFather{url_to_send_updates_to}— your Prod WebHook URL
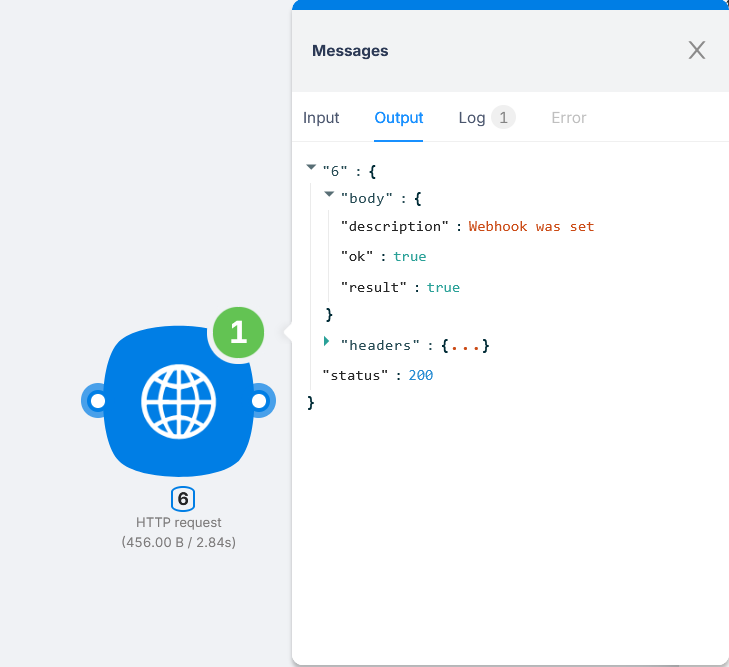
After sending the request, a successful response will look like this:
Verifying WebHook Setup
To ensure the WebHook is working, send another request:
https://api.telegram.org/bot{my_bot_token}/getWebhookInfo
Example of a successful response:
{
 "ok": true,
 "result": {
   "url": "https://www.example.com/my-telegram-bot/",
   "has_custom_certificate": false,
   "pending_update_count": 0,
   "max_connections": 40
 }
}

This method allows your Telegram bot to process updates automatically via WebHook rather than manually polling the API.
Now, your Prod WebHook will start receiving updates from Telegram.
Note: Telegram sends ALL updates, including message updates and other events. Therefore, it is recommended to configure more flexible filtering. On higher-tier plans, requests blocked by the first filter are nearly cost-free.