Many new users face challenges when setting up an iterator. This short guide aims to help you understand this tool and use it effectively.
What is an Iterator?
An iterator is a node that allows you to process selected arrays of data sequentially, one element at a time. These elements can be either JSON objects or JSON arrays.
Setting Up an Iterator
1. Filling in the Data Field
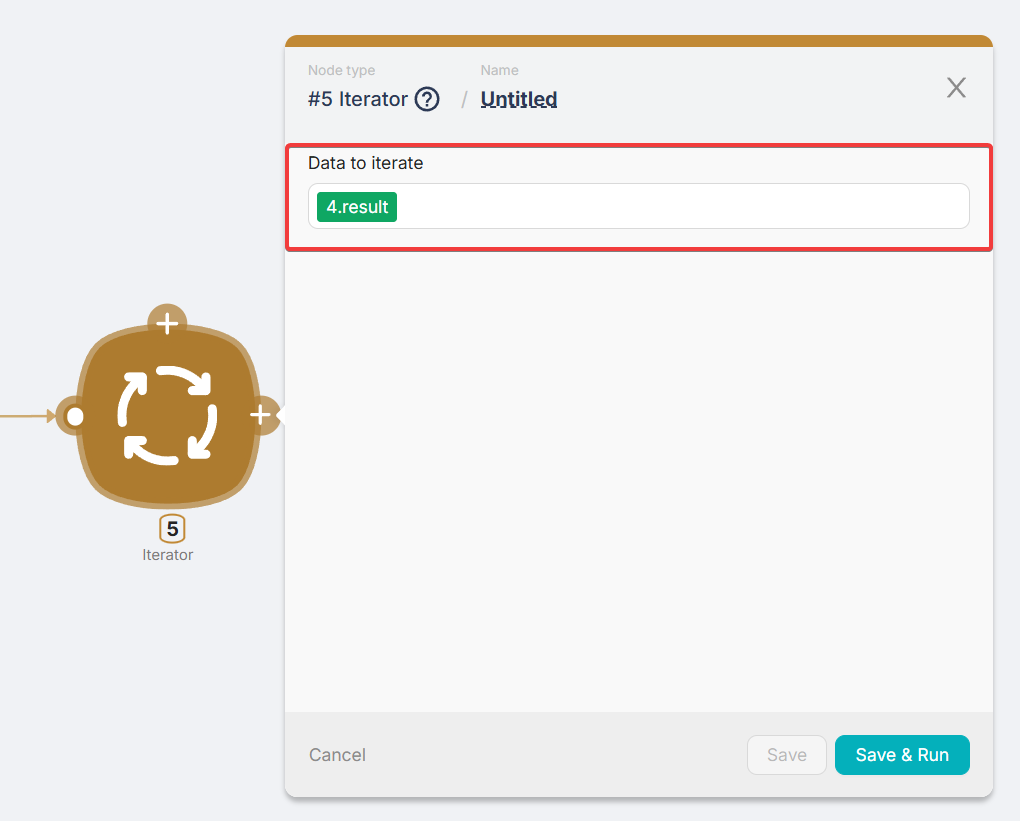
To configure the iterator correctly, you need to fill in the single field “Data to Iterate” with the data you want to process. This could be an array or an object that you wish to iterate over.
2. The Main Iterator Connector
The key point — unlike regular nodes, the iterator node has an additional connector at the top. This connector is used to pass each iteration through.

3. The Right Connector
The right connector triggers only after all iterations are completed .
It’s optional and is typically used for actions that should run after all data is processed. For example, it could be a webhook response indicating that the data has been successfully processed
Example usage: In this case, once the iterator completes all iterations, it sends a predefined response to a webhook by activating the Webhook Response node connected to the right connector.
Live Example of Using an Iterator
In this example, I demonstrate a scenario for batch processing all rows in a table using AI. You can read more about this here.
Bonus: Collecting All Iteration Values into a Single Variable
A common need is to collect all iteration data into a single variable. This can be achieved using the ADD operator. We discussed this in detail in this thread.
Thank you for reading! I hope this guide proves useful to you. If you have any questions, feel free to ask them in the comments or on the forum.
Good luck ![]()